Capturing a Defect
This is what the module is for: you are standing in front of the problem, so you point at it on the DMap and photograph it. The issue is created for you, already carrying its position.
Steps
-
Open the DMap and tap the position where the problem is.
-
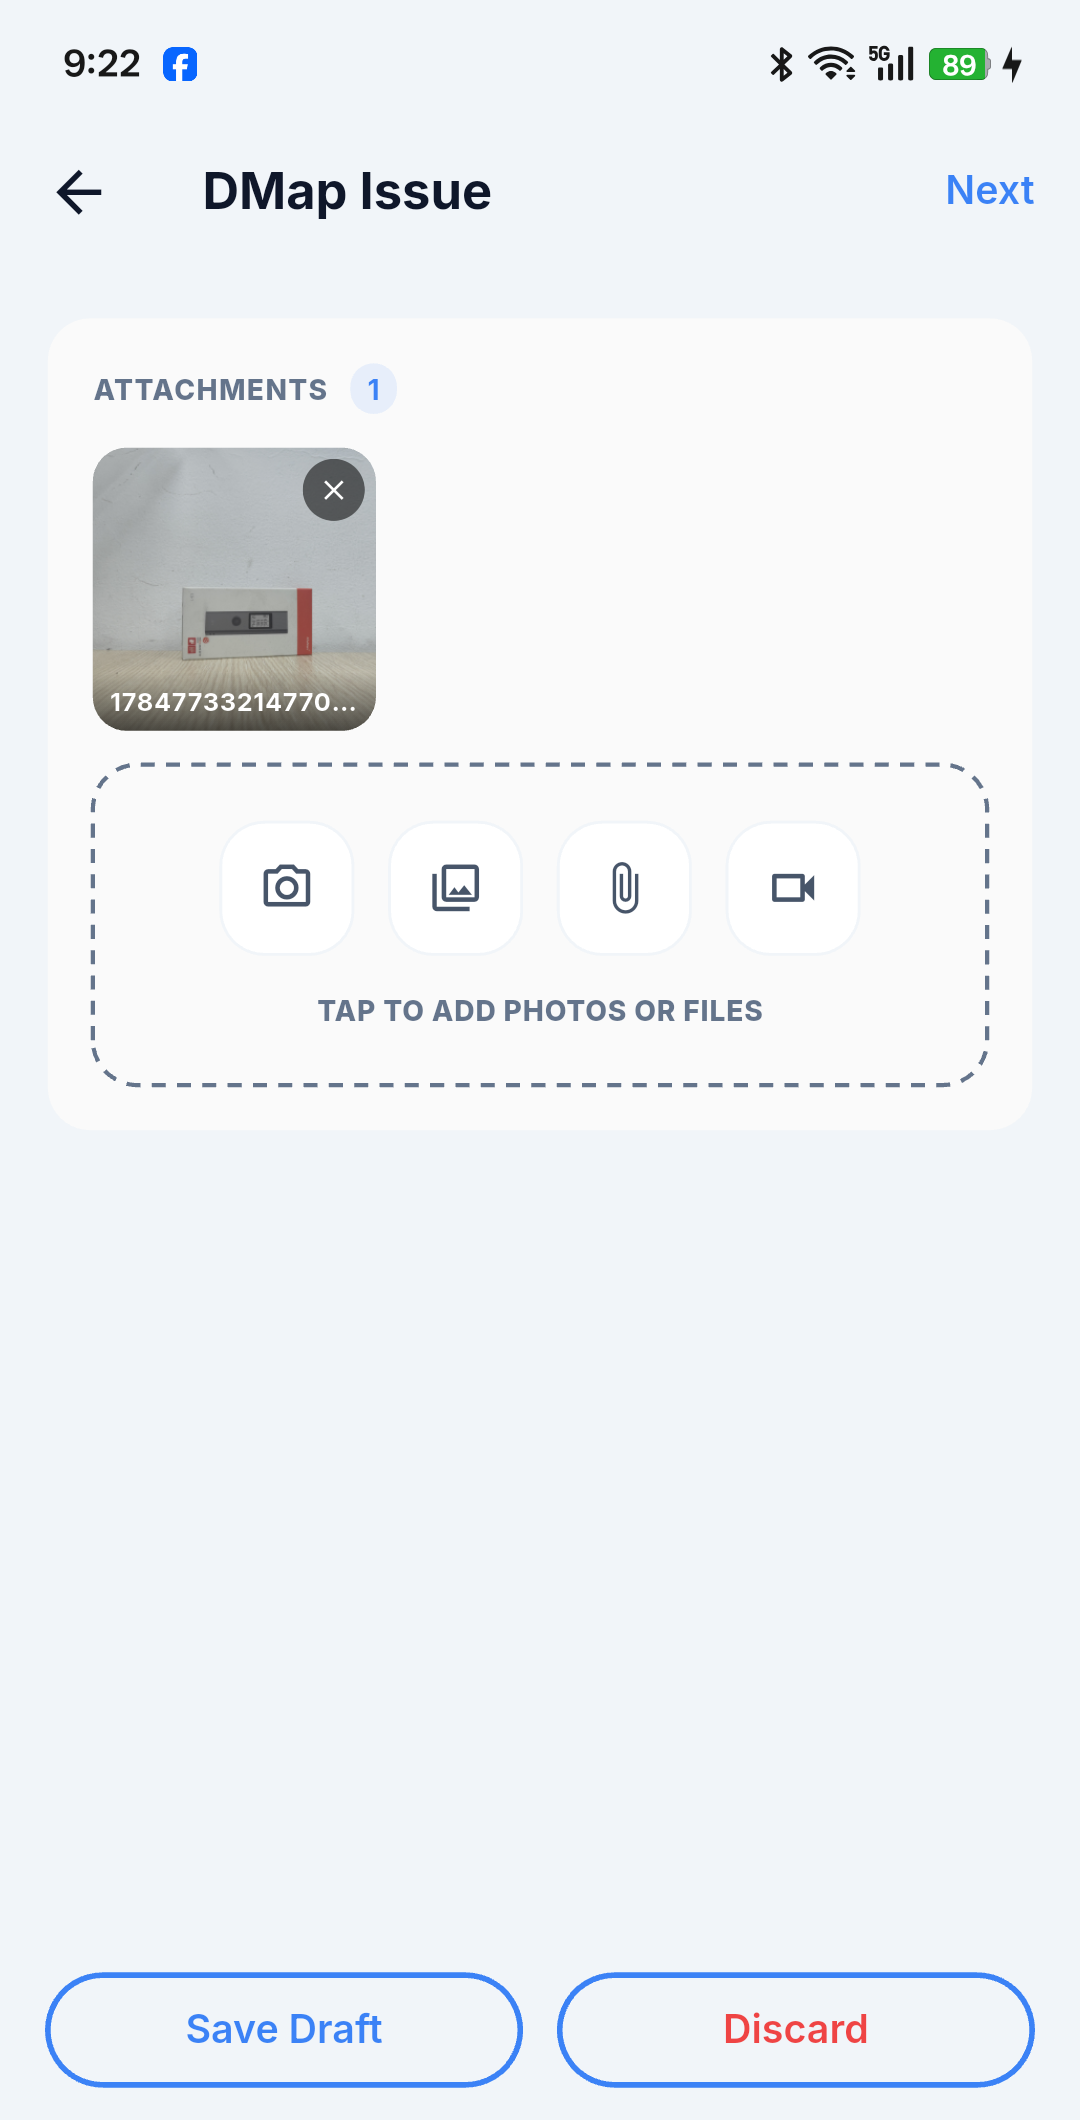
The camera opens immediately. Take the photo, and mark it up if you want to point at the exact crack or gap.
-
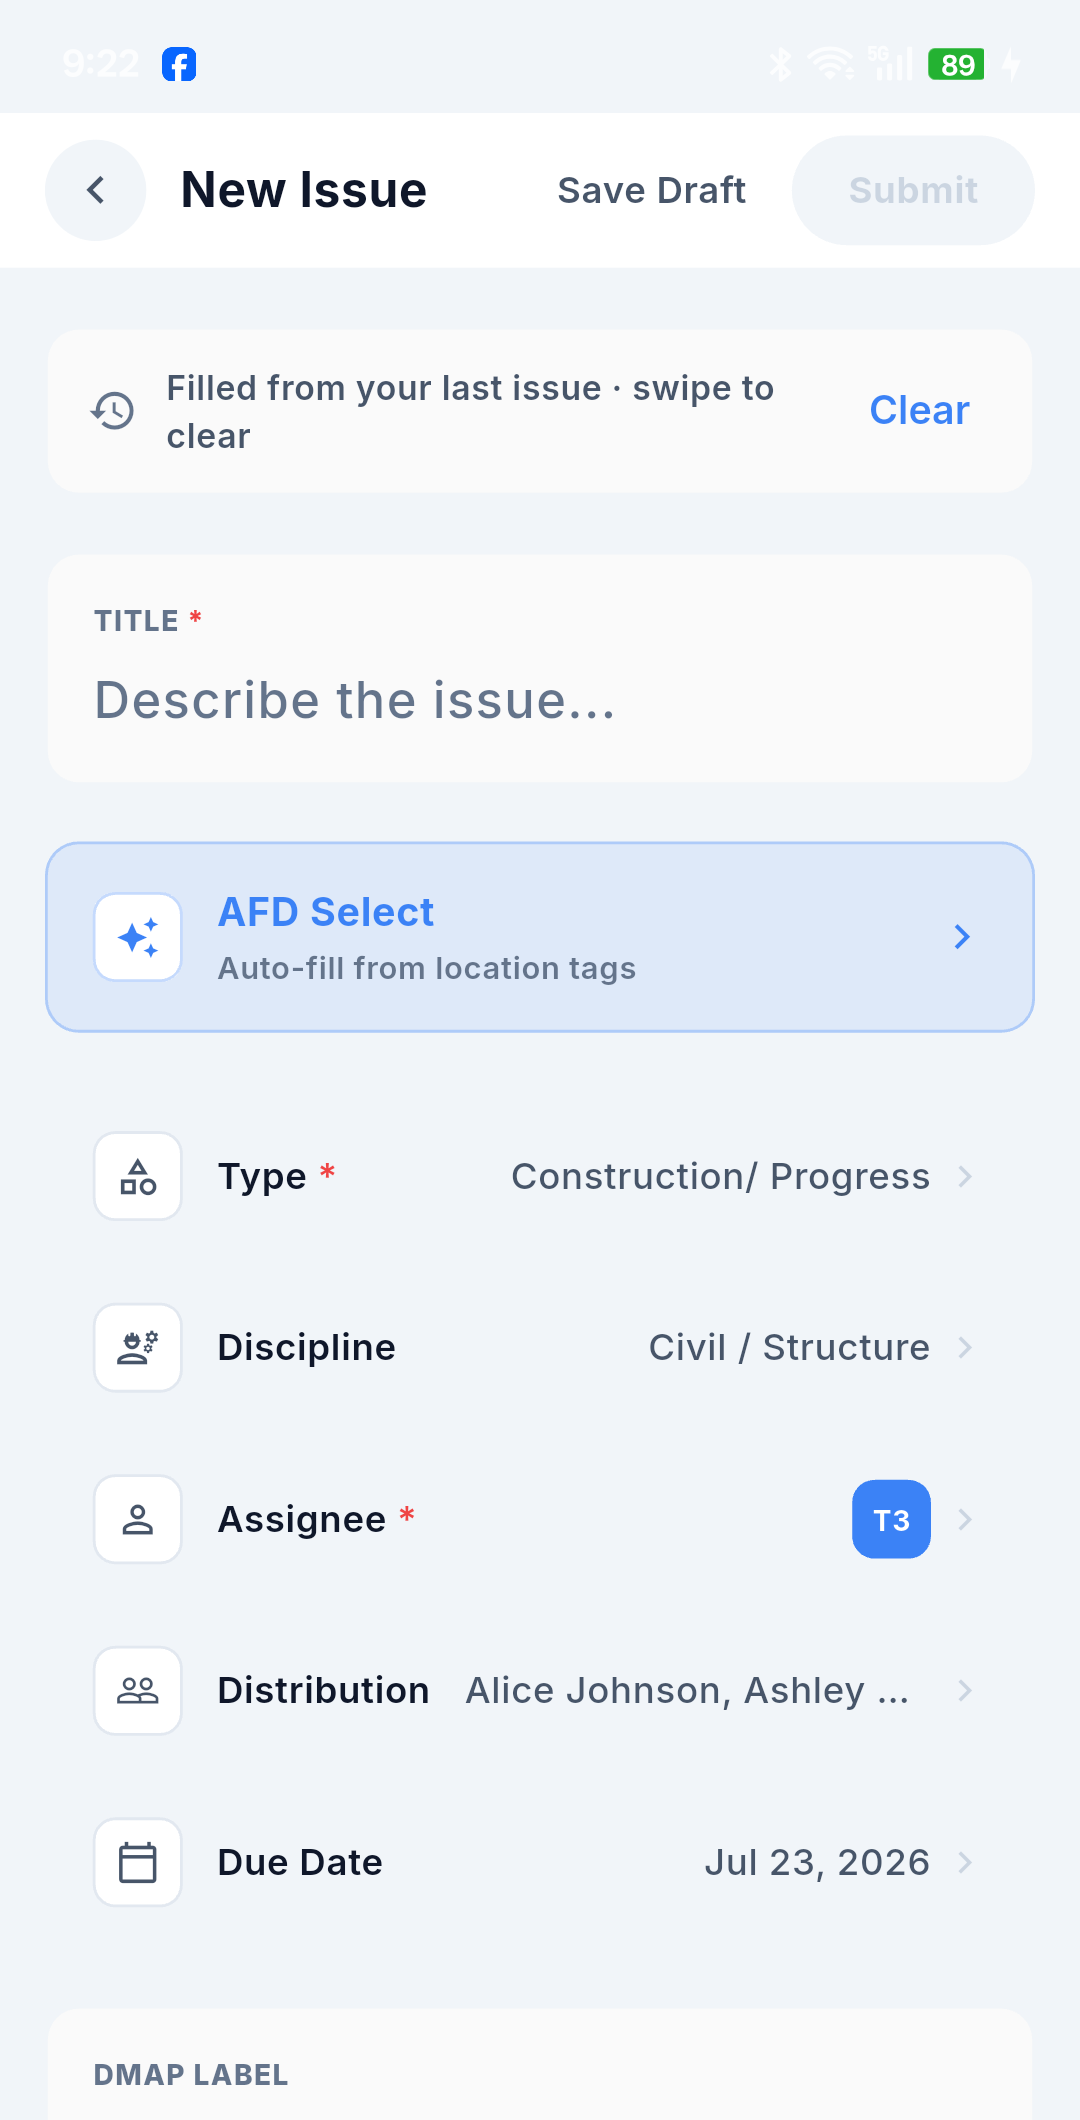
The New Issue form opens with the tapped position and the photo already filled in. Complete the required fields — Title, Description, Type, Assignee.
-
Submit. Back on the DMap, the new pin is there straight away.
The full field-by-field reference for step 3 lives in Create an Issue — it is the same form, reached the same way.
:::note Cancel the camera and nothing is created If you back out of the camera without taking a photo, no issue and no pin are created. Nothing is left half-made on the DMap. :::
The DMap Label
Each pin carries a short DMap Label. The field sits on the New Issue form, right above Description:
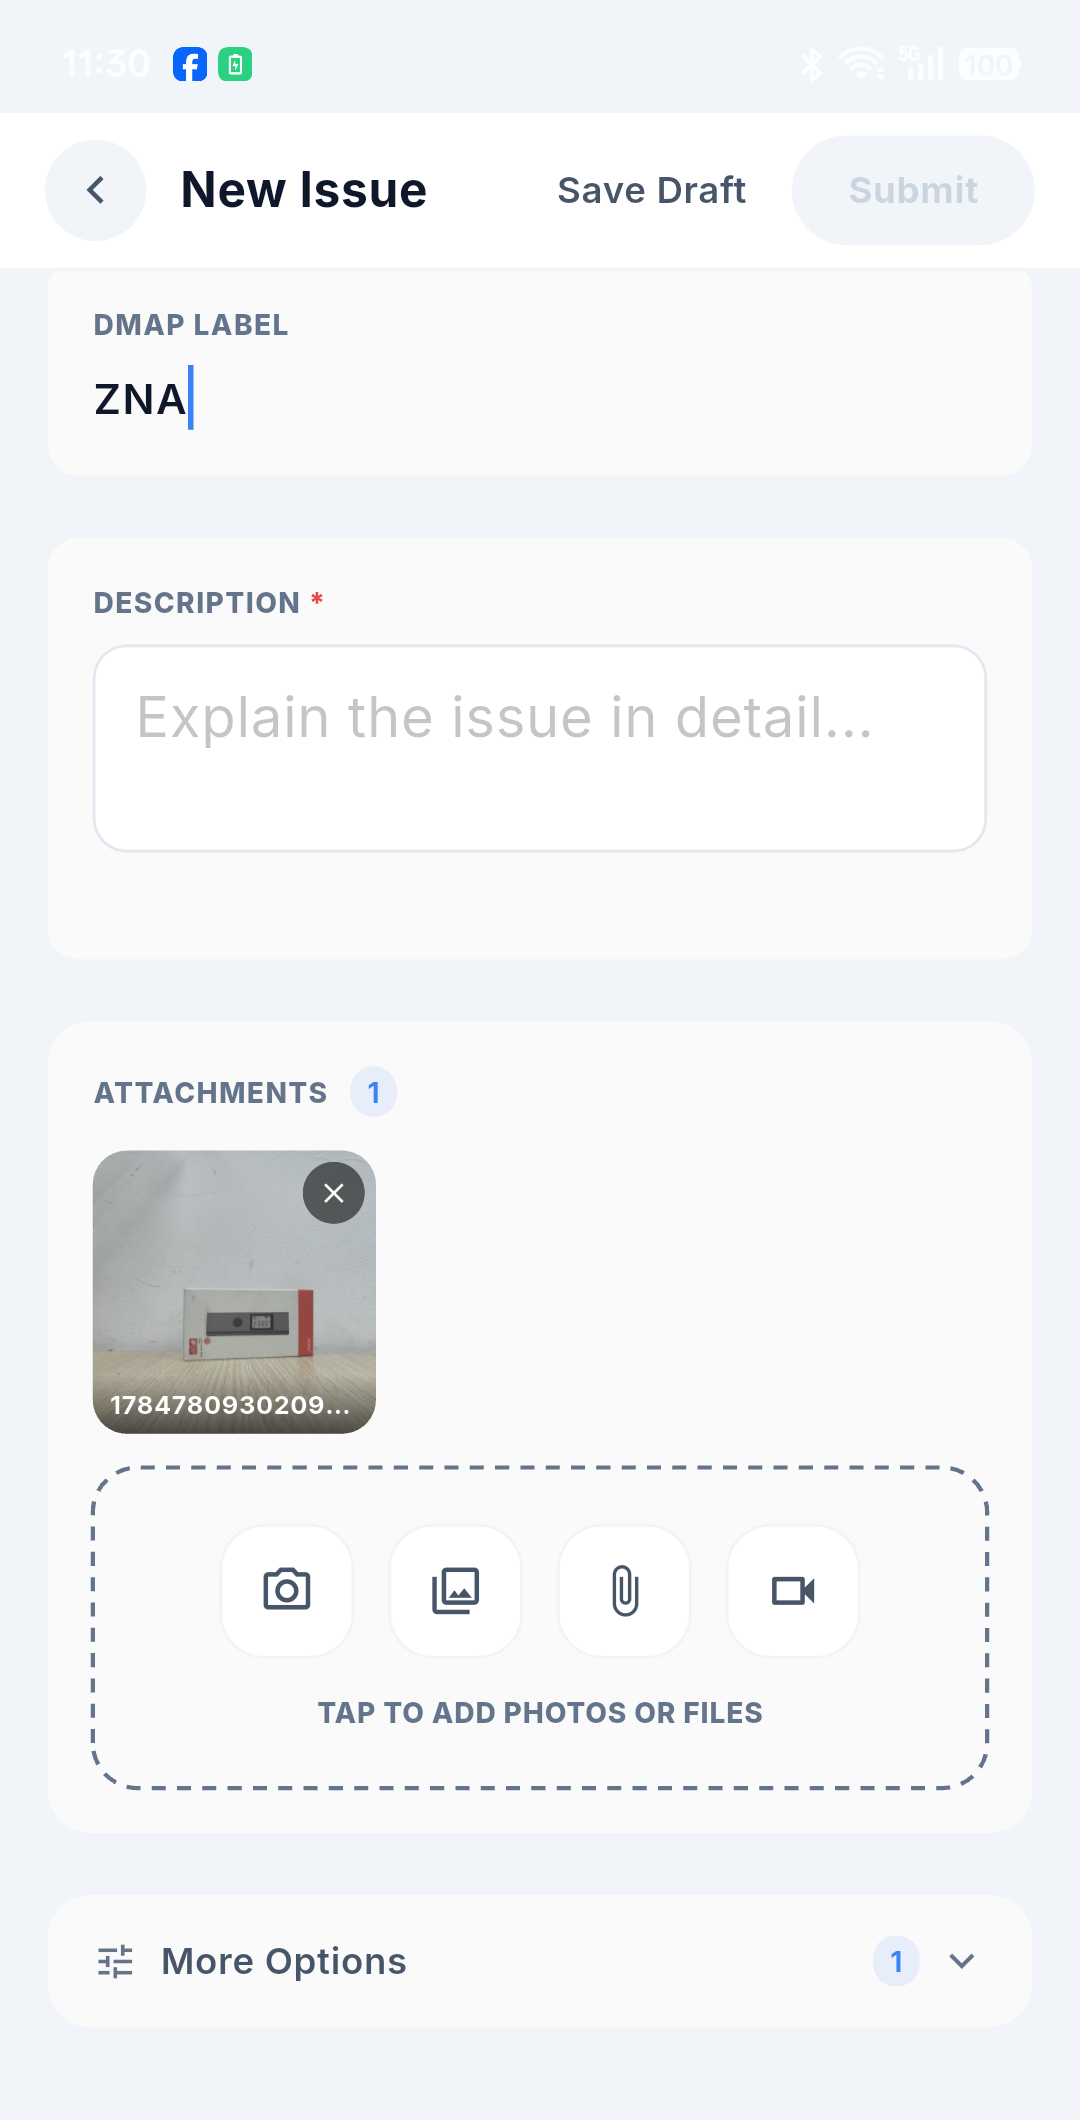
- Up to 3 characters, letters and digits only.
- Automatically uppercased as you type.
Keep it meaningful to the people reading the sheet — a zone, a room code, a grid reference.
Capturing with no signal
Losing the signal changes nothing about the steps above. Behind the scenes:
- A draft pin appears on the DMap immediately, marked with a pencil icon.
- The issue and its pin are queued together, as one transaction — so you can never end up with an issue that has lost its DMap, or a pin pointing at nothing.
- Photos are stored on the device and uploaded first when connectivity returns.
- Once the issue receives its real number, the pin is linked to it and the draft becomes a normal pin.
The details, including the failure and conflict states, are in Working Offline & Sync.
Permission
Capturing a defect needs write permission on that DMap. Without it you can still open the DMap and read its pins, but tapping an empty spot will not start a capture.