The Issue List
The list screen displays all issues of the project in a compact, high-density table designed for fast scanning (more than 20 rows at once).
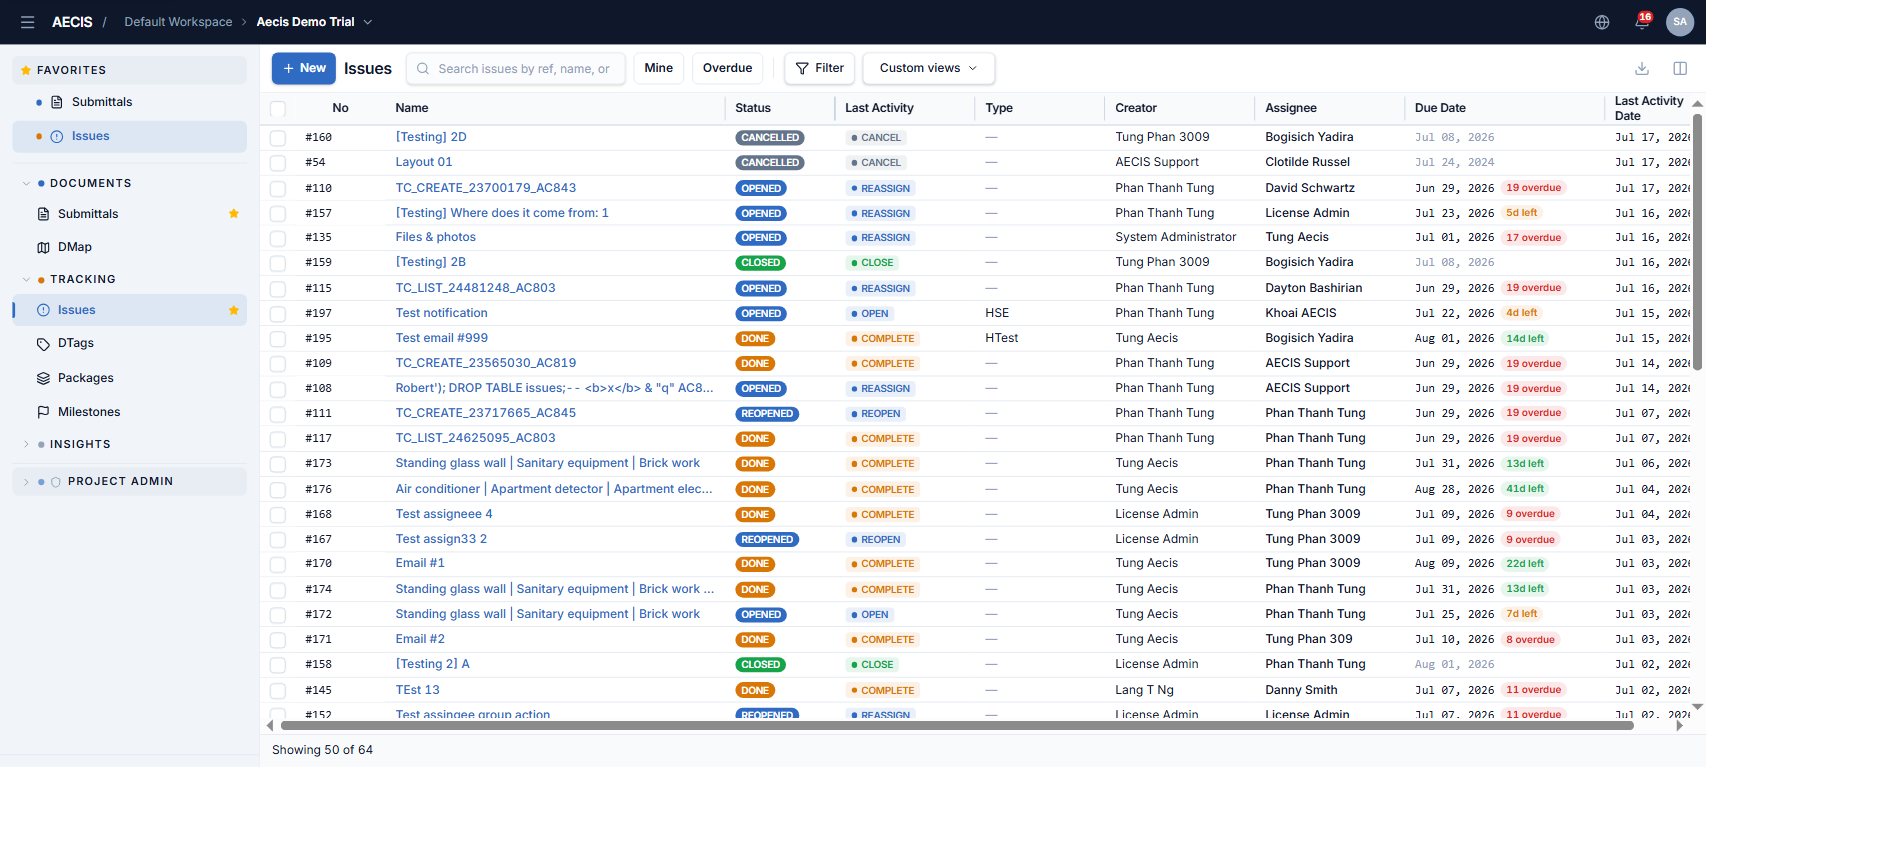
Toolbar
From left to right:
| Control | What it does |
|---|---|
| + New | Opens the Create Issue panel |
| Search box | Filters by issue number, name, or note content |
| Mine | Shows only issues where you are the Creator, Assignee, or Resolver |
| Overdue | Shows only overdue issues |
| Filter | Opens the detailed filter panel; a badge shows the number of active conditions |
| Custom views | Your saved filters for quick reuse |
| Clear all filters | Appears when filters are active — resets everything |
| Export | Exports the current (filtered, sorted) list to PDF |
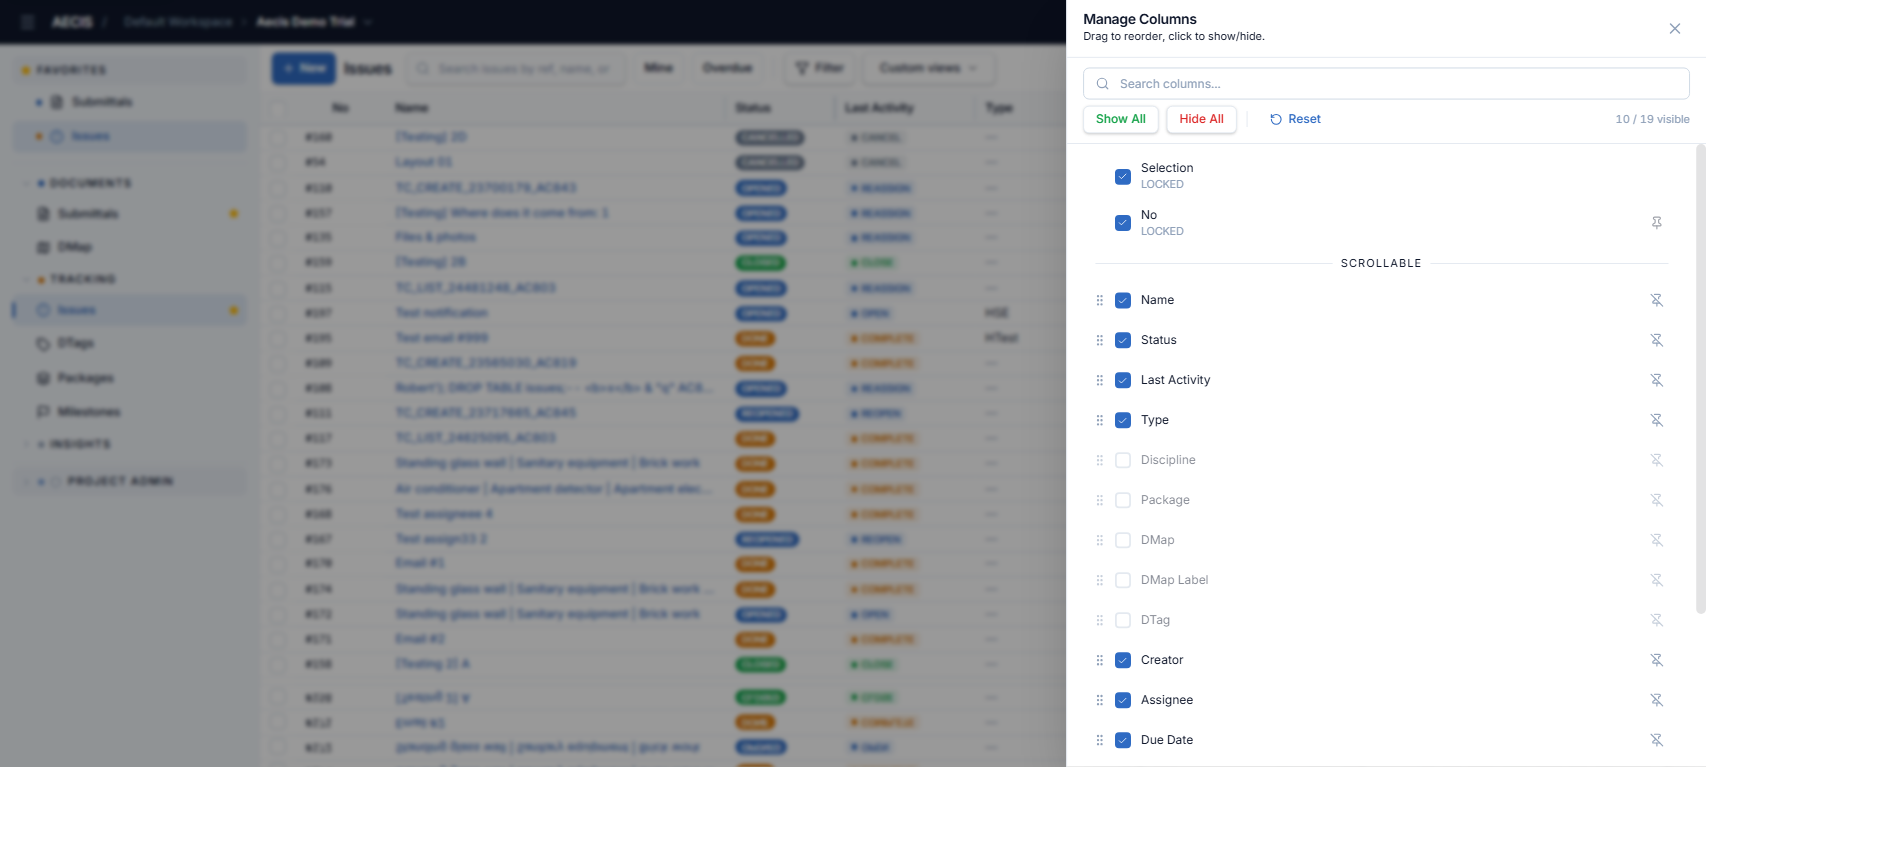
| Manage Columns | Show/hide, reorder, and pin columns |
Columns
Available columns: No (number), Name, Status, Last Activity, Type, Discipline, Package, DTag, DMap, Creator, Assignee, Due Date, Confirmed Date, Created Date, Last Activity Date, Resolver.
Shown by default: No, Name, Status, Type, Due Date, Creator, Assignee, Last Activity Date.
You can:
-
Sort by clicking a column header.
-
Reorder / pin / hide columns via Manage Columns or the column menu:
-
Select multiple rows with the checkboxes for bulk actions.
-
Click a row to open the detail panel.
Reading the table
- Status badges use fixed colors: Opened/Reopened blue, Done amber, Closed green, Cancelled dark slate.
- Due Date shows an overdue indicator (e.g.
19 overdue, red) or the remaining time (e.g.5d left, green). - Last Activity shows the most recent workflow action on the issue; clicking it opens the Activity tab scrolled to that entry.
- The footer shows the total number of issues matching the current filter.
Default sorting
By default the table sorts by last activity date, descending. When you enable Overdue (or enter the Overdue view), the table switches to sorting by status with overdue-day awareness.
Export to PDF
- Apply the filters and sorting you want — the export respects them.
- Click the Export button (download icon, top-right).
- Choose the report template.